Online registration
Login
1.Go to URL http://klogic.kmutnb.ac.th:8080/kris/index.jsp
2.You can login to information system for student registration

Picture 1 Login screen
3. Enter your Username and Password, then click “Login”
4. You will see the screen as displayed.

Picture 2 different menus
5. Click “Registration”

Picture 3, List of courses available
6.Select checkbox next to each class you want to enroll in, then choose Class Schedule button.
7. Click “Next”
8. You can view important information showing list of courses enrolled, fees and tuition.

Picture 4, Detailed information of online registration
9. After you have finished entering this information, please review it for accuracy. If you wish to go back to the previous page to review or edit the information., use the “Back” button. When you are done, click on the “Submit” button. Once you have press the “Submit”, you are not allowed to edit your information.
10. You will see the screen of your course selection (picture 5). Click “Print Report” button to create an immediate hard copy. You may go online and check your results by clicking “Check Result” button.

Picture 5: Displaying courses you have selected for registration.
11. You can make a review or make a hard copy of registration result. Press “Print Report”![]()
11.1 Details will be shown as in Picture 6

Picture 6 Details of course you wish to take.
11.2 Click “Print” for printing a report

Picture 7, Your course list
11.3 Print out the result report, then leave the menu, clicking X button on top to go back to KMUTNB registration screen.
12. Click “Exit”
To add courses
1.Follow the steps of online registration (step 1-4)
2.Click “course subject”
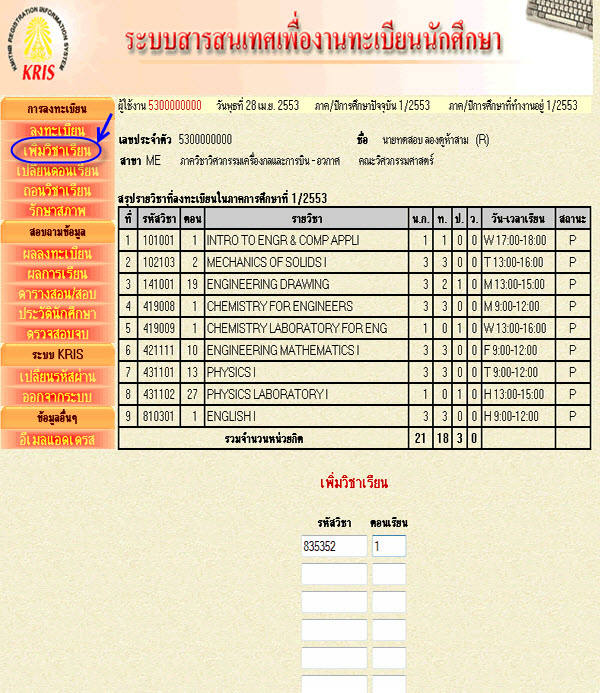
Picture 1 course subjects
3. Enter Course ID and section
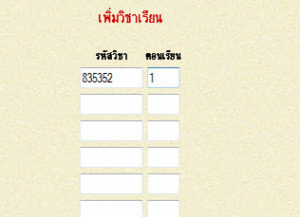
Picture 2 Enter Course ID and section
4. Review and click “back” for edit. Click ” submit” button. You cannot change the data of a submitted form .

Picture 3 displaying courses you need to add
5.You’ll see the displayed screen. Click “Check Result,” the report can be printed out as well.

Picture 4, Results of courses added
To change sections of the same course
1.Follow registration process 1-4
2.Click menu “Change section”

Picture 1, Screen displaying list of courses
3.Enter course code, former section, and new section you want to switch to. Press “Next”.
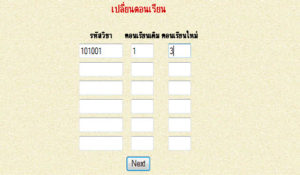
Picture 2, Screen displaying enter course code,former section and new section
4. Review, press “Back” button for editing. Then press “Submit”.

Picture 3, displaying target sections
5.You will get the details on screen. You can obtain the hard copy, using “Print Report”.

Picture 4 displaying change courses completed
N.B. There is no charge for changing from one section to another section of the same course
To drop courses
1.Follow registration process 1-4
2.Click menu “Drop courses”
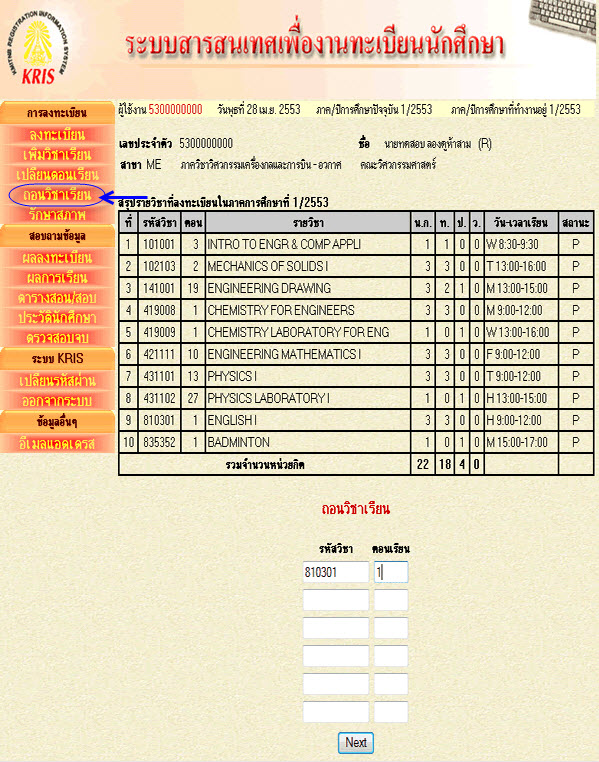
Picture 1, Display screen for dropping a course
3. Enter course codes and sections you want to drop. Press “Next”.
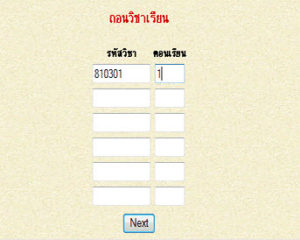
Picture 2, displaying Enter course codes and sections
4.Review, press “Back” button for editing. Then press “Submit”.
Picture 3, displaying courses you need to drop
5. You will get the details on screen. You can obtain the hard copy, using “Print Report”.

Picture 4 displaying drop courses completed
N.B.
1.There is no charge for dropping.
2.For students whose total number of credit hours is less than specified in the regulations, an official approval from authority figures is required prior to contacting the Registrations Office.